Connecting to a Printer and Printing Via a Wireless LAN (Wi-Fi) (EOS Ra)
08-Nov-2019
8204722200
Solution
Connect the camera to a printer supporting PictBridge (Wireless LAN) via Wi-Fi to print images.
This page describes how to print images by directly connecting the camera to a printer via Wi-Fi.
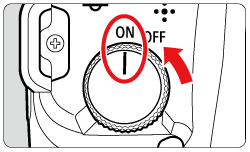
1. Set the camera's power switch to <ON>.
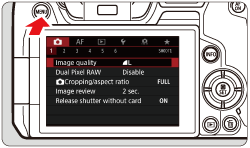
2. Press the <  > button to display the menu screen.
 > button to display the menu screen.
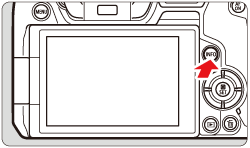
3. Press the <  > button to select the [
  ] tab.
 > button to select the [
  ] tab.
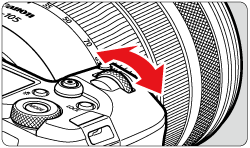
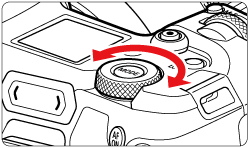
4. Turn the <  > dial to select the [
  ] tab.
 > dial to select the [
  ] tab.
5. Turn the <  > dial to select [Wireless communicaton settings].
 > dial to select [Wireless communicaton settings].
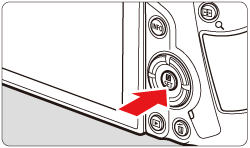
6. Press <  >.
>.
 >.
>.
7. Turn the <  > dial to select [Wi-Fi settings], then press <
  >.
>.
 > dial to select [Wi-Fi settings], then press <
  >.
>.
8. Turn the <  > dial to select [Wi-Fi], then press <
  >.
>.
 > dial to select [Wi-Fi], then press <
  >.
>.
9. Turn the <  > dial to select [Enable], then press <
  >.
>.
 > dial to select [Enable], then press <
  >.
>.
- After the [Wi-Fi settings] screen appears, press the <
 > button to return to the [Wireless communication settings] screen.

10. Turn the <  > dial to select [Wi-Fi function], then press <
  >.
>.
 > dial to select [Wi-Fi function], then press <
  >.
>.
NOTE
- When the following screen appears, press the <
 > button.
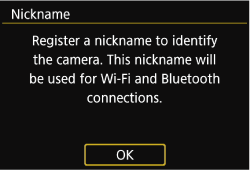
- To use the nickname displayed, press the <
 > button.
 - You can change the nickname using the virtual keyboard. For more information on using the keyboard, please refer to "Virtual Keyboard Operation".

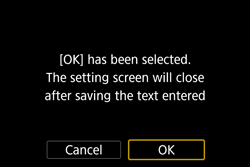
- Turn the<
 > dial to select [OK], then press <
  >.
>.
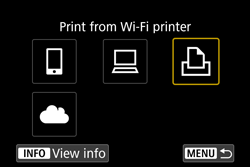
1. Turn the <  > dial to select [
  ], then press <
  >.
>.
 > dial to select [
  ], then press <
  >.
>.
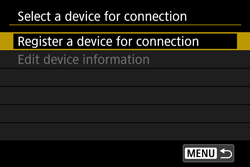
2. Turn the <  > dial to select [Register a device for connection], then press <
  >.
>.
 > dial to select [Register a device for connection], then press <
  >.
>.
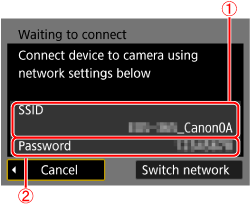
3. Check the SSID (network name) (  ) and password (
  ).
).
 ) and password (
  ).
).
4. Use the printer to connect to the camera via Wi-Fi.
- In the printer’s Wi-Fi setting menu, choose the SSID (network name) displayed on the camera to establish a connection. "_Canon0A" is displayed at the end of the SSID.
- In the password field on the printer, enter the password displayed on the camera.
5. Turn the <  > dial to select the printer to use and press the <
  > button.
 > dial to select the printer to use and press the <
  > button.
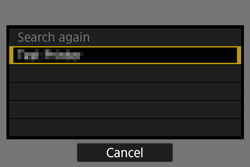
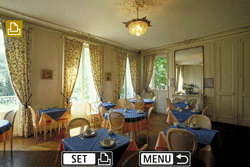
- Images on the memory card are displayed after the printer is connected via Wi-Fi.
6. Turn the <  > dial to select an image to print, then press <
  >.
>.
 > dial to select an image to print, then press <
  >.
>.
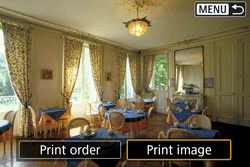
7. Turn the <  > dial to select [Print image], then press <
  >.
>.
 > dial to select [Print image], then press <
  >.
>.
8. Turn the <  > dial to select [Print], then press <
  >.
>.
 > dial to select [Print], then press <
  >.
>.
9. Turn the <  > dial to select [OK], then press <
  >.
>.
 > dial to select [OK], then press <
  >.
>.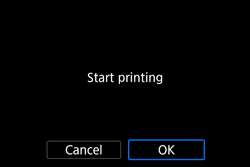
- Printing now begins.
- To print other images, after printing is finished, repeat this procedure from step 6.
Use the virtual keyboard operation to enter information. Note that the length and type of information you can enter varies depending on the function you are using.
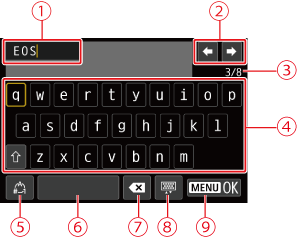
 | Input area, for entering text |  | Space |
 | Cursor keys, for moving in the input area |  | Delete a character in the input area |
 | Current no. of characters/no. available |  | Change the type of keyboard |
 | Keyboard |  | Finish the text entry |
 | Switch input modes | ||
NOTE
- Press the <
 > <
> <  > <
> <  > <
> <  > keys to move within
  and
and  to
to  .
. - Press <
 > to confirm input or when switching input modes.