19-Jul-2019
8204544400
 >, <
>, <  >, <
>, <  >, and <
  > shooting modes.
 > mode and ISO Auto are both set, see "<
  > Mode + ISO Auto".
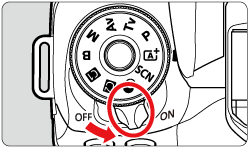
 > <
> <  > <
> <  > <
> <  >.
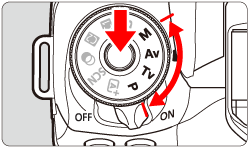
>.
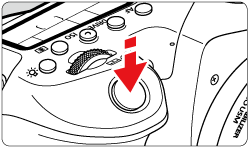
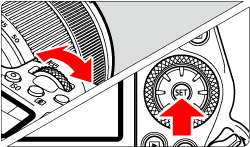
 > dial.
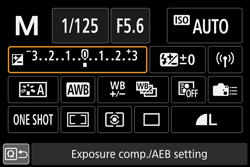
 : Expo.comp./AEB].
| Standard exposure | Decreased exposure for a darker image | Increased exposure for a brighter image |
 |  |  |
 |  |  |
 > to <
  >, the standard exposure index.
 : Auto Lighting Optimizer ] is set to any setting other than [Disable], the image may still look bright even if a decreased exposure compensation for a darker image is set.
 > or <
  >.
>. : Expo.comp./AEB ]
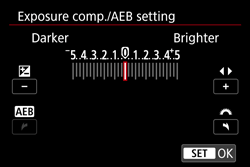
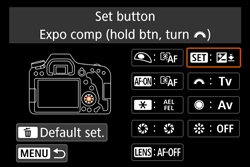
 > dial while holding down the <
  > button. (When [
  ] under [
  C.Fn III-3: Custom Controls ] is set to [
  ].)
].) 
 > mode + ISO Auto + <
  > (Evaluative metering) and [
  C.Fn I-8 : AE lock meter. mode after focus ] set to the default setting, holding down the shutter button halfway will lock the ISO speed after focus is achieved with One-Shot AF.
 > button initially with an automatically set ISO speed, press the <
  > button, recompose the shot, and check the exposure level indicator.
 C.Fn I-1 : Exposure level increments] set to [1/2-stop], any 1/2-stop exposure compensation will be implemented with the ISO speed (1/3 stop) and shutter speed. However, the shutter speed displayed will not change.