16-Dec-2019
8204490100
 illustration, are steps for the iPad. Pocedures starting with a
  illustration, are steps for the camera.
 1. Install Camera Connect.
 2. Open [ Settings ] on iPad, make sure the [ Airplane Mode ] is [ OFF ].
 3. Set the camera's power switch to <ON>.
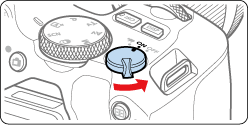
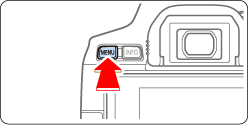
 4. Press the <
  > button.
 5. Press the <
  > <
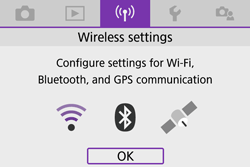
> <  > buttons to select the [
  ] tab, and press <
  >.
>.
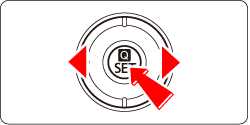
 6. Press the <
  > <
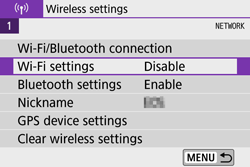
> <  > buttons to select [ Wi-Fi settings ], and press <
  >.
>.

 7. Press the <
  > <
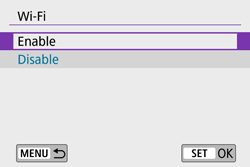
> <  > buttons to select [ Wi-Fi ], and press <
  >.
>.
 8. Press the <
  > <
> <  > buttons to select [ Enable ], and press <
  >.
>.
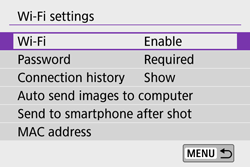
 9. Press the <
  > button.
 10. Press the <
  > <
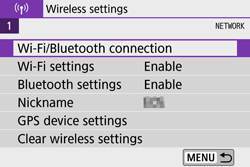
> <  > buttons to select [ Wi-Fi/Bluetooth connection ], and press <
  >.
>.
 11. Press the <
  > <
> <  > buttons to select [
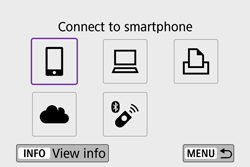
  Connect to smartphone ], and press <
  >.
>.
 > <
> <  > keys.
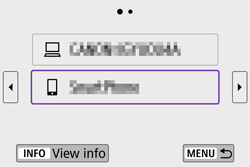
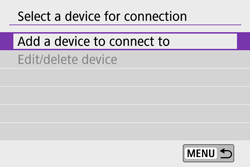
 12. Press the <
  > <
> <  > buttons to select [ Add a device to connect to ], and press <
  >.
>.
 13. Press the <
  > <
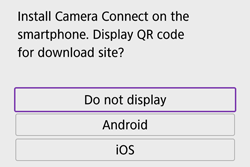
> <  > buttons to select [ Do not display ], and press <
  >.
>.
 14. Select [ Connect via Wi-Fi ], then press <
  >.
>.
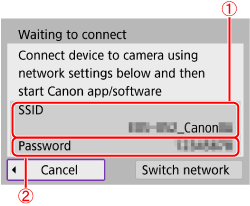
 15. Check the SSID (network name) (
  ) and password (
  ).
).
 16. Open [ Settings ] on the iPad, select [ Wi-Fi ] to confirm the SSID is the same as the one displayed on the camera screen, and tap to select.
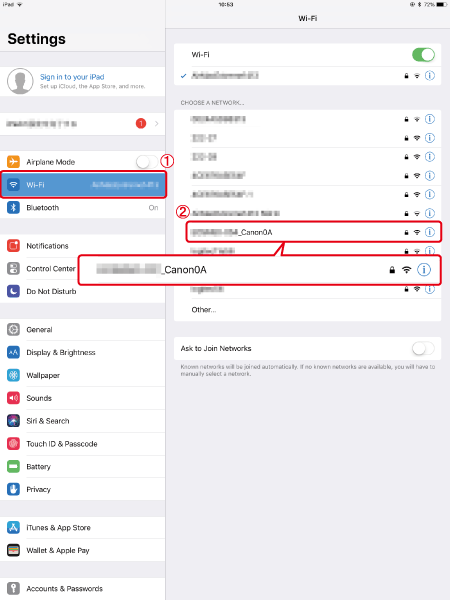
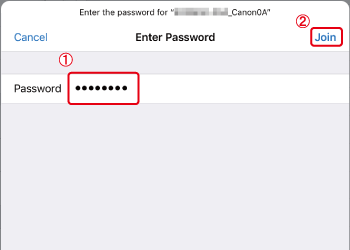
 17. Input the same Password as displayed on the camera (
  ) and tap [ Join ] (
  ).
).
 18. Open Digital Photo Professional Express.
 19. Tap [Import from Canon Camera Connect (RAW/JPEG)] from [
  ] on the upper left hand.
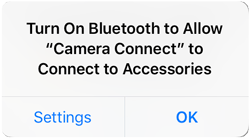
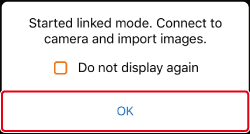
 20. Tap [ OK ].
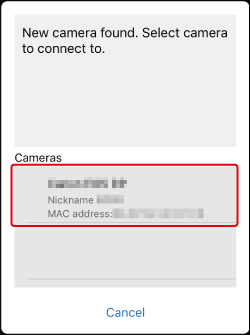
 21. Tap the camera to connect.
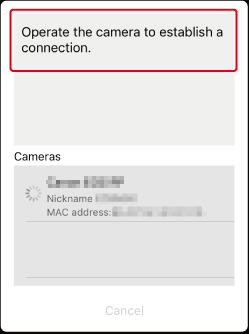
 22. Confirm that [ Operate the camera to establish a connection ] is displayed.
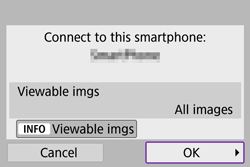
 23. Choose [ OK ] and press <
  >.
>.
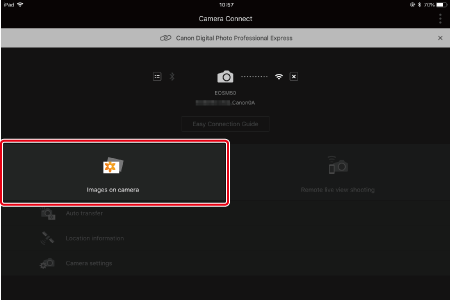
 24. Tap [ Images on camera ].
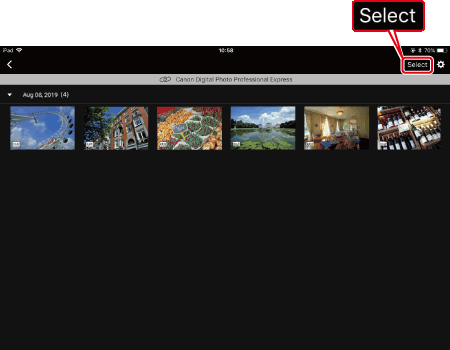
 25. Tap [ Select ].
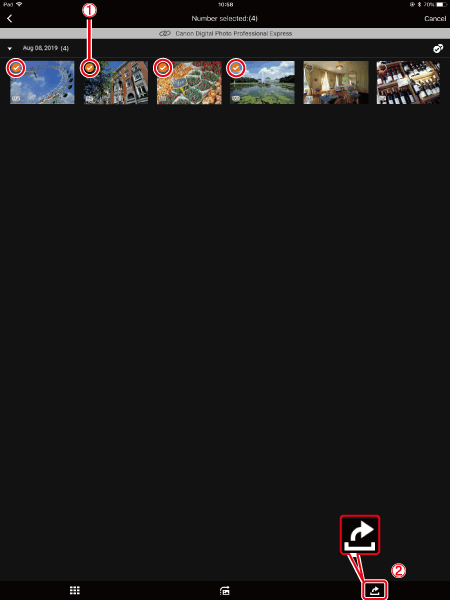
 26. Tap on the imported images to select images.
  displayed (
 ).
). ] to select all.
 (
( ).
).
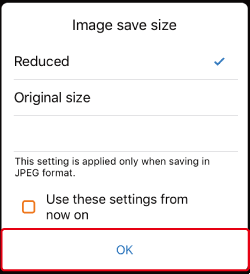
 27. Select image size, and tap [ OK ].
 28. The selected images will be imported into Digital Photo Professional Express.
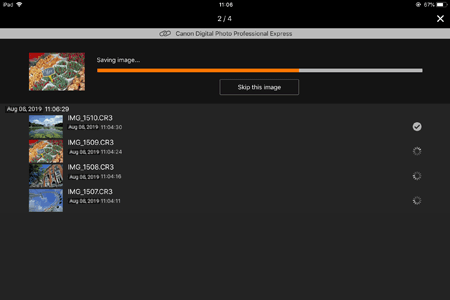
 29. Once the images have been imported, tap [ Open linked app ].
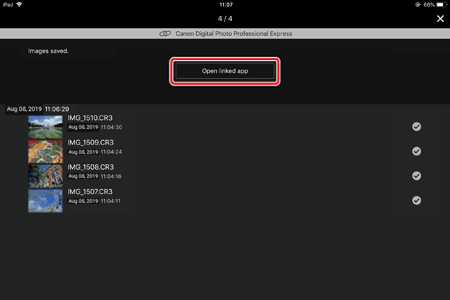
 30. Tap [ Yes ].
 31. Digital Photo Professional Express will open, tap [ OK ].
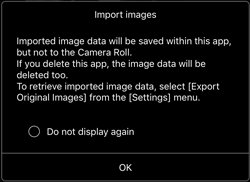
 32. The imported images will be displayed in the thumbnails screen in Digital Photo Professional Express.
 1. Install Camera Connect.
 2. Open [ Settings ] on iPad, make sure the [ Airplane Mode ] is [ OFF ].
 3. Set the camera's power switch to <ON>.
 4. Press the <
  > button.
 5. Press the <
  > <
> <  > buttons to select the [
  ] tab, and press <
  >.
>.

 6. Press the <
  > <
> <  > buttons to select [ Wi-Fi settings ], and press <
  >.
>.

 7. Press the <
  > <
> <  > buttons to select [ Wi-Fi ], and press <
  >.
>.
 8. Press the <
  > <
> <  > buttons to select [ Enable ], and press <
  >.
>.
 9. Press the <
  > button.
 10. Press the <
  > <
> <  > buttons to select [ Wi-Fi/Bluetooth connection ], and press <
  >.
>.
 11. Press the <
  > <
> <  > buttons to select [
  Connect to smartphone ], and press <
  >.
>.
 > <
> <  > keys.
 12. Press the <
  > <
> <  > buttons to select [ Add a device to connect to ], and press <
  >.
>.
 13. Press the <
  > <
> <  > buttons to select [ Do not display ], and press <
  >.
>.
 14. Select [ Connect via Wi-Fi ], then press <
  >.
>.
 15. Check the SSID (network name) (
  ) and password (
  ).
).
 16. Open [ Settings ] on the iPad, select [ Wi-Fi ] to confirm the SSID is the same as the one displayed on the camera screen, and tap to select.
 17. Input the same Password as displayed on the camera (
  ) and tap [ Join ] (
  ).
).
 18. Go to home screen, and open Camera Connect.
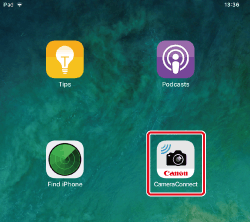

 19. Tap the camera to connect.
 20. Confirm that [ Operate the camera to establish a connection ] is displayed.
 21. Select [ OK ] and press <
  >.
>.
 22. Tap [ Images on camera ] .
 23. Tap [ Select ].
 24. Tap on the imported images to select images.
  displayed (
  ).
). ] to select all.
 (
( ).
).
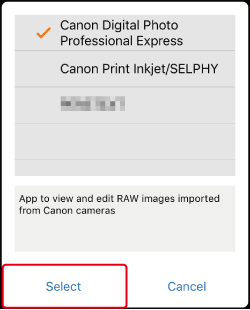
 25. Tap [Digital Photo Professional Express], to choose and tap [ Select ].
 26. Select image size, and tap [ OK ].
 27. The selected images will be imported into Digital Photo Professional Express.
 28. Once the images have been imported, tap [ Open linked app ].
 29. Tap [ Yes ].
 30. Digital Photo Professional Express will open, tap [ OK ].
 31. The imported images will be displayed in the thumbnails screen in Digital Photo Professional Express.
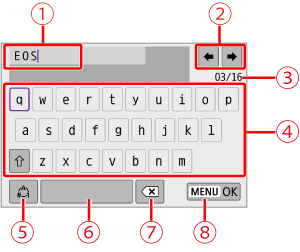
 | Input area, for entering text |  | Switch input modes |
 | Cursor keys, for moving in the input area |  | Space |
 | Current no. of characters/no. available |  | Delete a character in the input area |
 | Keyboard |  | Finish the text entry |
 > cross keys to move within
  and
and  -
-  .
. > to confirm input or when switching input modes.