24-Aug-2017
8203569000
 are for cameras. The operation instructions that begin with this illustration
  are for SELPHY.
 1. Prepare SELPHY.
 2. Access the setting screen.
 >.
>. ><
>< ><
>< ><
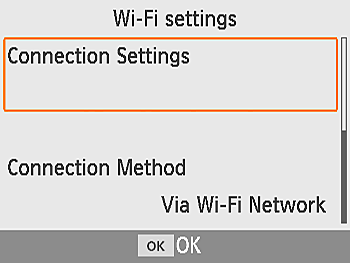
>< > buttons to select [Wi-Fi Settings], and then press the <
 > button.
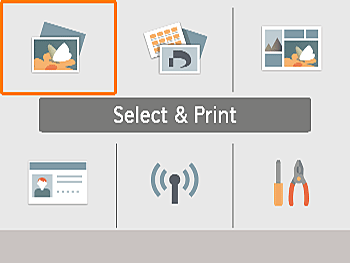
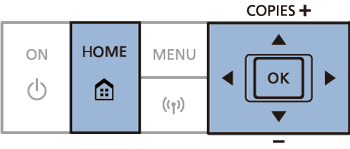


 3. Choose the connection method.
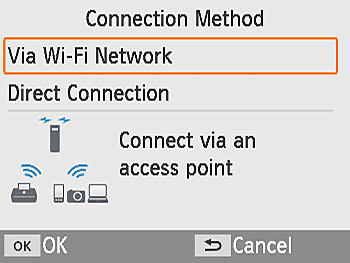
 ><
>< > buttons to select [Direct Connection], and then press the <
 > button.


 ><
>< > buttons to select [Direct Connection], and then press the <
 > button.


 4.Press the <
 ><
>< > buttons to select [On], and then press the <
 > button.
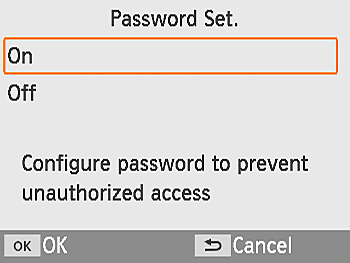
 5. Change the password.
 > button.
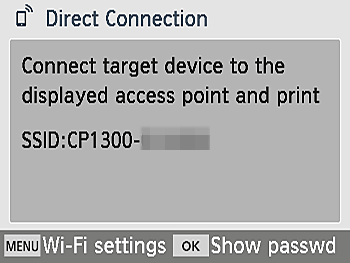
 > button to display the password.
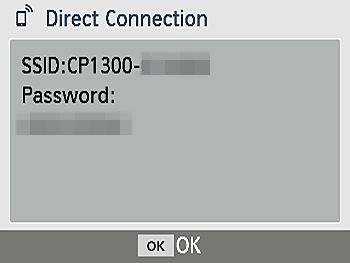
 6. Press the <
 > button on the camera to turn the power on.
 7. Press the <
 > button.
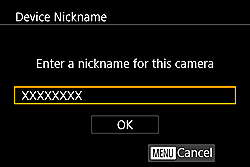
 > button, then use the displayed keyboard to enter a nickname.
 8. Press the <
 ><
>< ><
>< ><
>< > buttons to select [
  ], and then press the <
 > button.
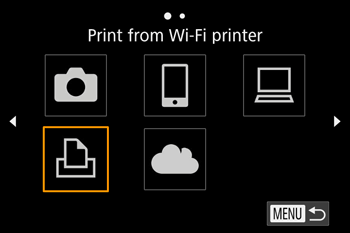
 9. Press the <
 ><
>< > buttons to select [Add a Device], and then press the <
 > button.
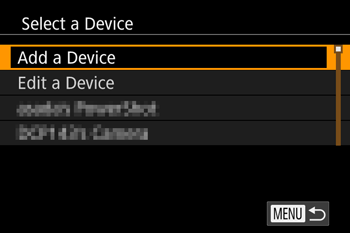
 ><
>< > buttons to select an item and then simply press the <
 > button to connect to the device. To add a new device, display the device selection screen by pressing the <
 ><
>< > buttons, and the configure the setting. If you do not wish for the recent connections to be displayed, press the <MENU> button and select [Off] in [Target History] in [Wi-Fi Settings] in the [
  -4] tab.
 10. In [Select Network] on the camera, press the <
 ><
>< > buttons, select the SSID (network name) displayed on the printer, and press the <
 > button.
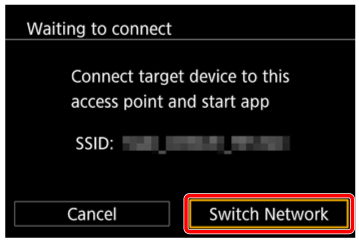

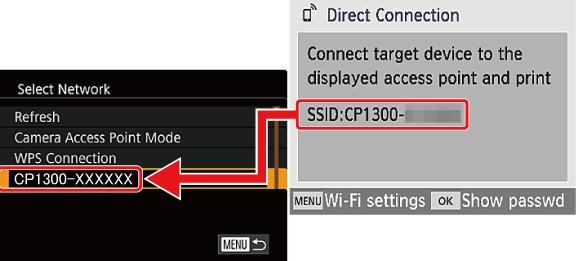
 11. Enter the password displayed on the printer in the
  encryption key field by using the keyboard that appears when you press the <
 > button, select [Next]
  , and press the <
 > button .
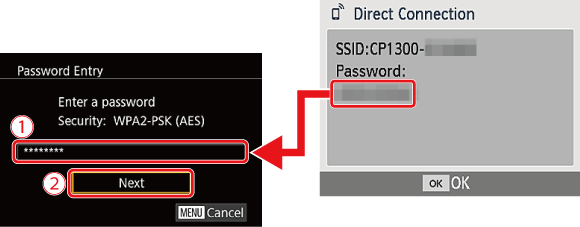
 12. Press the <
 ><[
><[  > buttons to select [Automatic], and then press the <
 > button.
 13. Press the <
 ><
>< > buttons to select the printer name you set in step 3, and then press the <
 > button.
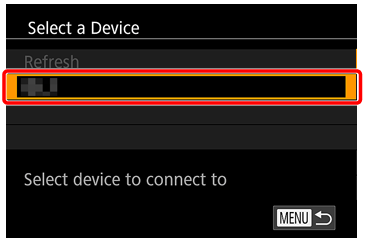
 14. SELPHY and the camera are connected and the playback display appears again.
 1. Press the <
 ><
>< > buttons to select the images you want to print.
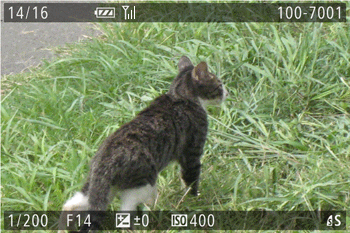
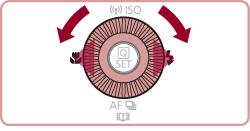
 2. Press the <
 > button, select [
  ], and then press the <
 > button again.
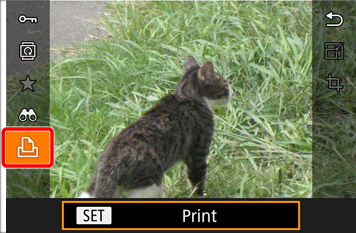
 3. The screen with printing settings appears.
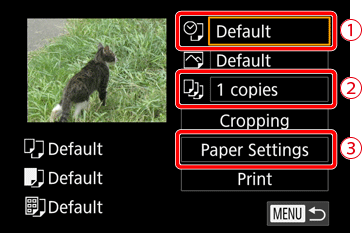
 ><
>< > buttons, select
  , and then press the <
 > button.
 ><
>< > buttons, select
  , and then press the <
 > button.
 Press the <
 ><
>< > buttons to select [Paper Settings], and then press the <
 > button.
 4. The screen where you can set the paper size is displayed.
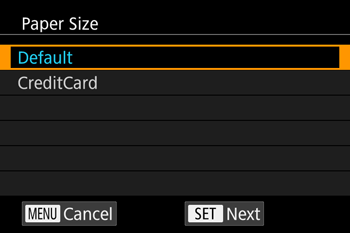
 > button.
 5. The screen where you can set the paper type is displayed.
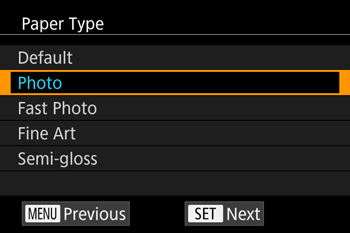
 > button.
 6. The screen where you can set the layout is displayed.
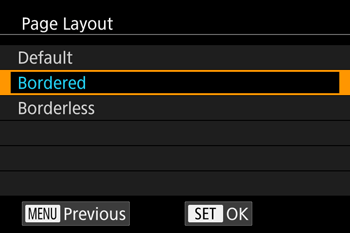
 > button.
 7. The screen with printing settings appears again.
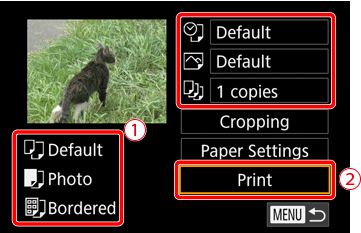
 Check the settings.
 Select [Print] and press the <
 > button to start printing.
 8. Once printing begins, the screen below is displayed.
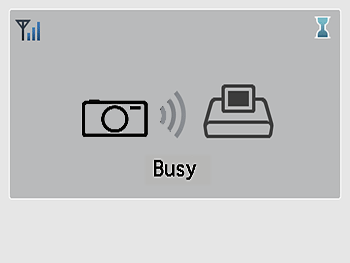
 > button. Use the camera to stop printing.
 9. The Home screen or screen at following is displayed when the camera is no longer connected.
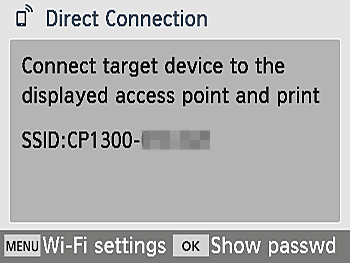
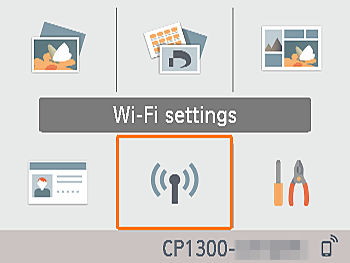

 > button.
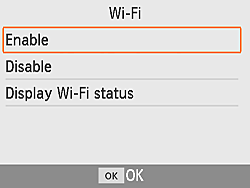
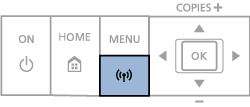
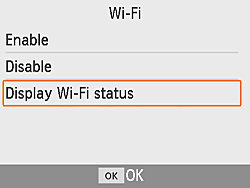
 ><
>< > buttons to select [Display Wi-Fi status], and then press the <
 > button.


 > button to display the password.