25-Nov-2015
8202714900
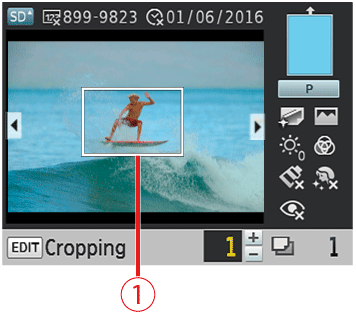
 If the cropping settings are configured, the frame appears in the image display screen.
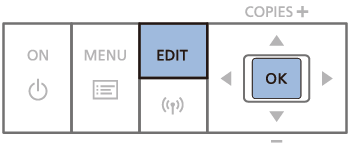
 ], [
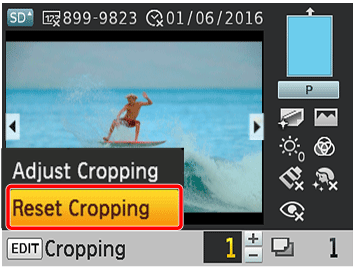
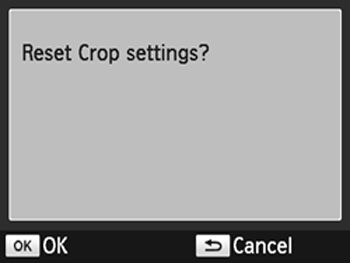
], [  ] buttons to select [Reset Cropping], and then press the [
  ] button.
 ] button.

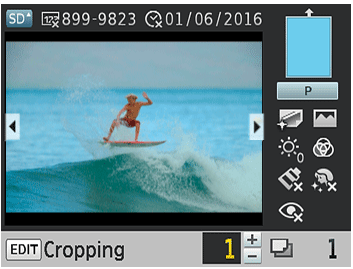
 If the aspect ratios of the image and the paper differ, the image will be clipped when you print it. Make sure to align the aspect ratios.
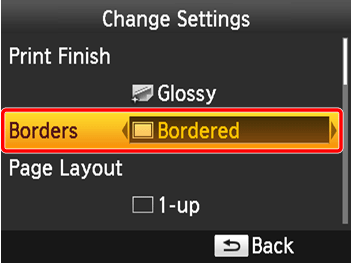
 If you want to print everything with different aspect ratios, follow the steps below and select [Bordered].

 Borderless (default) /
 Bordered
 ].
]. ], [
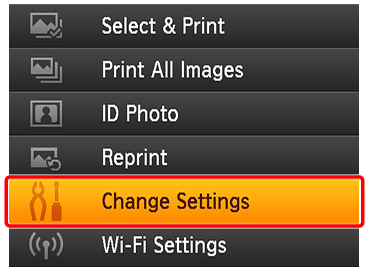
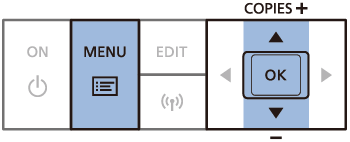
], [  ] buttons to select [Change Settings], and then press the [
  ] button.
 ], [
], [  ] buttons and select [Borders].
 ], [
], [  ] buttons to select [Bordered], and then press the [
  ] button.
 ] button again.
 ] button.
 Borderless]. You can have SELPHY retain configured settings.