22-Aug-2013
8201905500
 ) button.
 Press the <
 ><
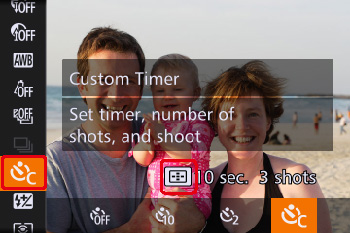
>< > buttons to choose [Self-Timer]
 Press the <
 ><
>< > buttons to choose [10 sec. Self-Timer] (
 ), [2 sec. Self-Timer] (
 ) or [Custom Timer] (
 ) .
) .  ) button.
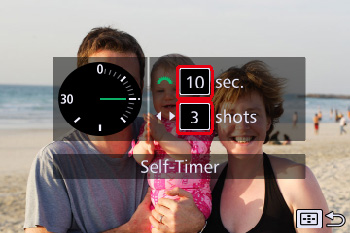
 ) is selected, you can set the delay to between 0 and 30 seconds, and the number of shots to between 1 and 10 shots.
 ) selected (as in the above image), press the <
 > button.
 ><
>< > buttons to set the number of shots.
 ) button.
| Self-timer setting | Shooting mode | |||
|---|---|---|---|---|
 |  |  |  | |
| [Delay] *1 |  |  |  |  |
| [Shots] *2 |  |  |  |  |
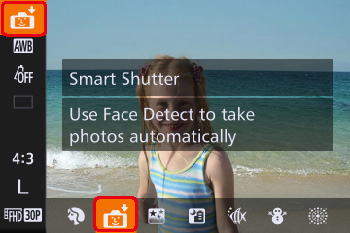
 ), the camera will use the face-detection function to perform various types of automatic shooting.
 ) button.
 ><
><  > buttons to choose [Smart Sutter] (
 ).
). ) button.

 Press the <
  ><
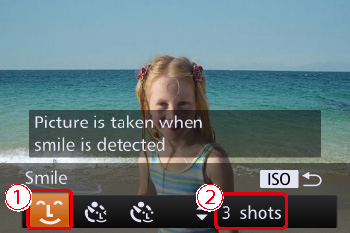
><  > buttons to choose a shooting mode from [Smile] (
 ), [Wink Self-Timer] (
 ), and [Face Self-Timer] (
 ) . For details on the shooting modes that can be set for [Smart Shutter], refer to the following table.
 Press the <
  ><
><  > buttons to choose the number of shots.
 ) button.
(  ) ) | The camera will shoot, even without pressing the shutter button, when it detects a smile. | - Each time the camera detects a smile, it will shoot after the lamp lights up. - If a smile is not detected, facing the camera and smiling with the mouth open to show some teeth will make it easier for the camera to detect the smile. - You should switch to another mode when you finish shooting, or the camera will continue taking shots each time the camera detects a smile. - You can also shoot by pressing the shutter button. |
(  ) ) | Point the camera at a person and press the shutter button fully. The camera will shoot approximately two seconds after it detects a wink. | - If the wink is not detected, wink again slowly and deliberately. - A wink may not be detected if eyes are covered by hair or a hat, or when wearing glasses. - Shutting both eyes will also be detected as a wink. - If a wink is not detected, the camera will automatically shoot after about 15 seconds later. - If there are no people in the shot when the shutter button is pressed fully, the camera will shoot after a person enters the shot and winks. |
(  ) ) | The shutter will release approximately two seconds after the camera detects a new face. You can use this when the photographer wants to be in the image, such as a group photo. | - To cancel shooting with the self-timer after the countdown has started, press the < > button. > button.- If the camera cannot detect the face of a new subject that has entered the shot, it will shoot after about 15 seconds later. |