Issue
Cause and Solution
NOTE
The screen shots used in this section are from Windows XP Professional.
1. Insert the CD-ROM supplied with the printer into the CD-ROM drive.
If CD-ROM Setup appears, click [Exit].
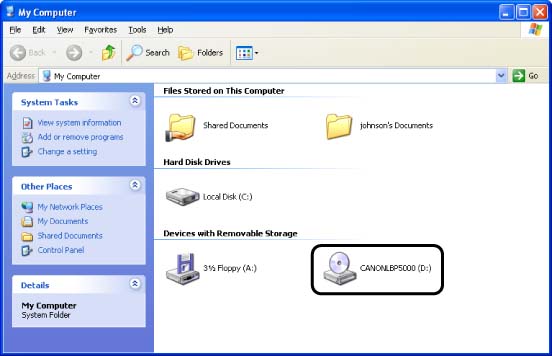
2. Open [My Computer], then select the CD-ROM drive.
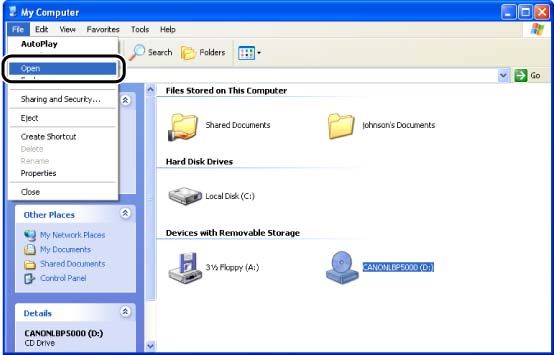
3. Select [Open] from the [File] menu.
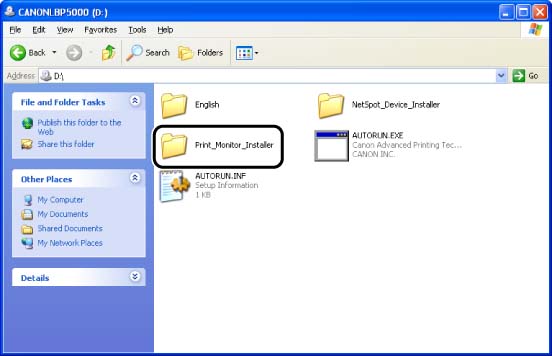
4. Double-click the [Print_Monitor_Installer] folder.
5. Double-click the [English] folder.
6. Double-click [Setup.exe].
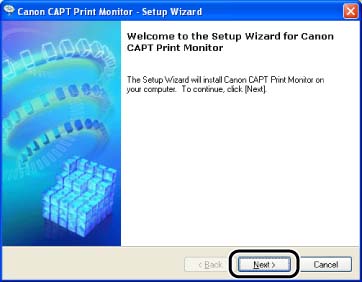
7. Click [Next].
8. Confirm the contents and select [I accept the terms in the license agreement], and then click [Next].
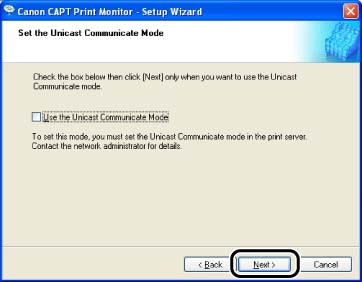
9. Click [Next].
IMPORTANT
When using the unicast communication mode, you need to configure the network board (print server) to be used in the unicast communication mode. For more details, see "Chapter 5 Appendix" in Network Guide (PDF manual) in the CD-ROM supplied with the printer, or ask your network administrator.
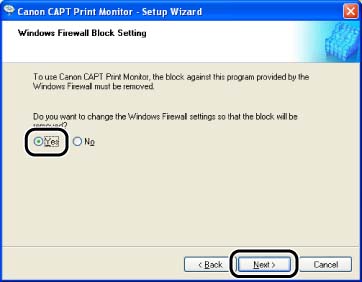
If you are using Windows XP Service Pack 2 or another operating system equipped with Windows Firewall, and when the following screen appears, select [Yes], and then click [Next].
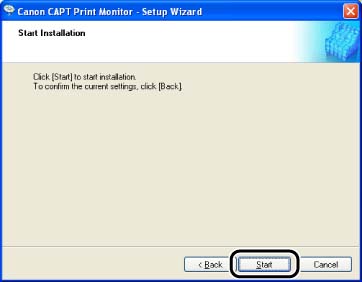
10. Click [Start].
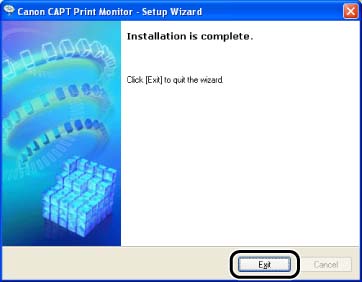
11. Click [Exit].
