Solution
Among WPS-compatible devices, there are those that use a push-button approach to making settings and others that use a PIN code.
This section will use the push-button approach to explain the steps involved in connecting to a computer using infrastructure mode.
The steps are the same when connecting to a smartphone using infrastructure mode.
IMPORTANT
- Connecting a camera to a computer over a wireless LAN requires Windows 7 Service Pack 1 / Mac OS X v10.6.8 or later.
NOTE
- Refer to the user guide provided with your access point to check if it supports WPS.
1. Press the <Playback> (

) button on the camera.
2. Touch (

).
NOTE
When making the settings for a wireless LAN for the first time, a screen will appear for you to register a nickname for the camera.
Touch inside the frame, enter a nickname using the keyboard, and then touch [OK].
This nickname will appear on other devices on the wireless LAN when connecting from them.
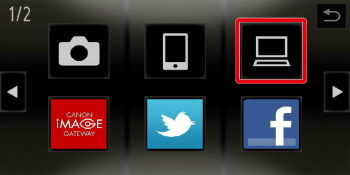
3. Touch (

).
NOTE
- If connecting to a smartphone, touch (
 ).
).
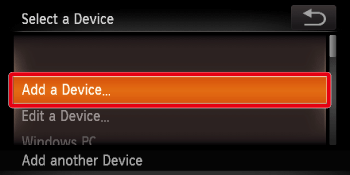
4. Touch [Add a Device].
NOTE
- When connecting to a smartphone, a screen for selecting the communication mode will appear, so select [Infrastructure].
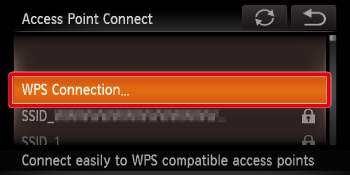
5. Touch [WPS Connection].
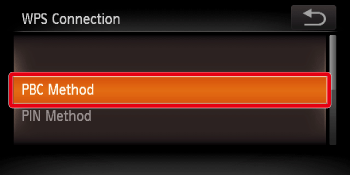
6. Touch [PBC Method].
NOTE
- If you selected [PIN Method] here, set the PIN code on the screen that appears on the access point. Next, select the device to connect to from the [Select a Device] screen. For more details, please see the instruction manual for your access point.
- To add multiple computers, repeat the above procedures starting from step 4.
- To end the connection, touch the (
 ) in the top-right corner of the screen, and then touch [OK] on the confirmation screen.
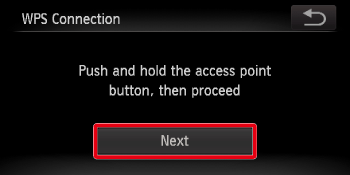
7. Press and hold down the WPS connection button on the access point device, and then touch [Next].
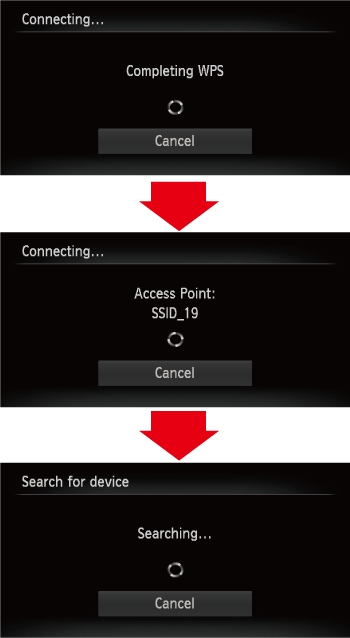
8. The following screen appears.
NOTE
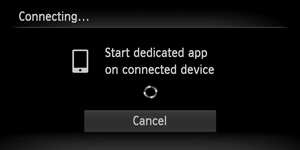
If connecting to a smartphone, the following screen appears.
Start [CameraWindow] on the smartphone.
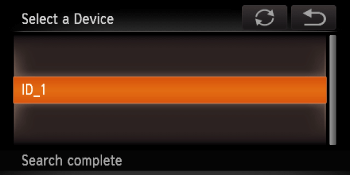
9. If the device you want to connect to is found, a screen like the one below will appear.
Touch the device you want to connect to.
NOTE
If a screen like the one below appears, check the settings on the device you want to connect to.
After checking the settings, touch [Search Again] to retry the connection.
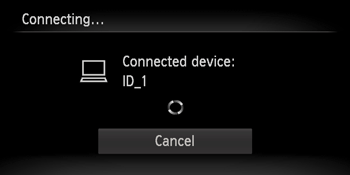
10. The following screen appears.
IMPORTANT
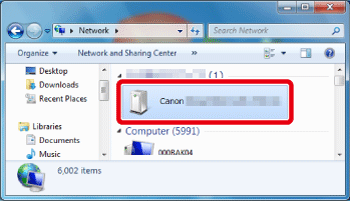
- When connecting the camera to a computer for the first time, it is necessary to follow the steps below to install a driver on the computer (Windows only).
Click [Control Panel] > [Network and Internet] > [View network computers and devices], and then double-click the connected model on the [Other Devices] screen to start the installation of the driver.
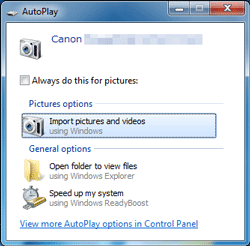
11. After the driver installation has finished and the camera and computer connection has been completed, the [AutoPlay] screen will appear on the computer.
When this happens, nothing will appear on the camera's LCD screen. The connection is complete at this point.
 ) button on the camera.
 ).
).

 ).
).
 ).
). 
 ) in the top-right corner of the screen, and then touch [OK] on the confirmation screen.