Solution
Installing the Software on Disc 1
Disc 1 contains ImageMixer 3 SE Transfer Utility and Music Transfer Utility. Perform the following procedure to install both applications.
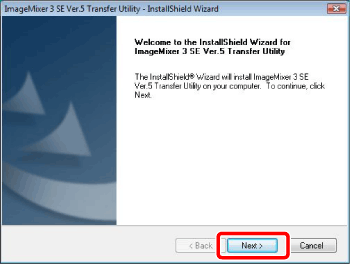
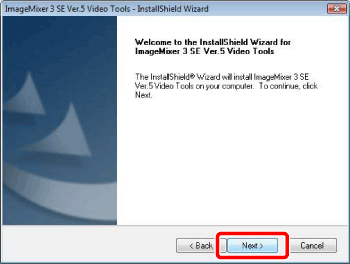
1.Insert the PIXELA Application Disc 1 CD-ROM into the computer's CD or DVD drive.
The installation wizard will start automatically.
REFERENCE
Select [ Continue ] in the User Account Control window that opens.
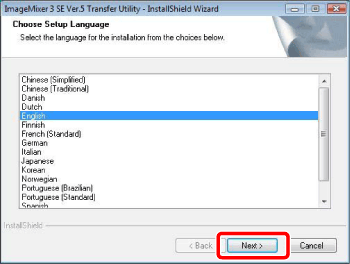
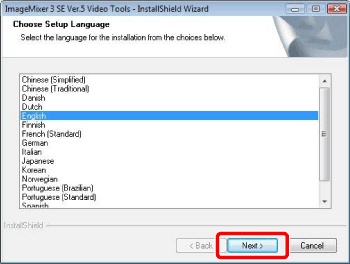
2.Select the language for the installation and click [ Next ].
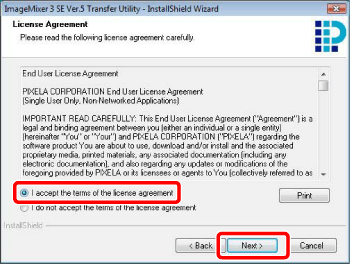
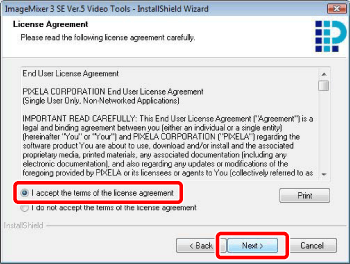
4.Read the license agreement and click [ Next ].
Select [ I accept the terms of the license agreement ] to continue.
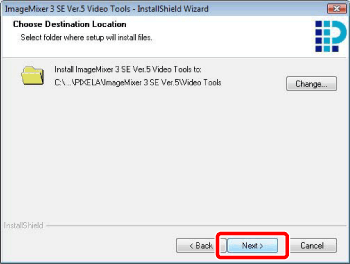
5.Check the destination folder for the installation files and click [ Next ].
If you want to change the destination folder, click [ Change ] and select a different folder.
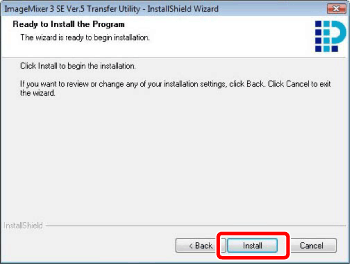
6.Click [ Install ] to begin the installation.
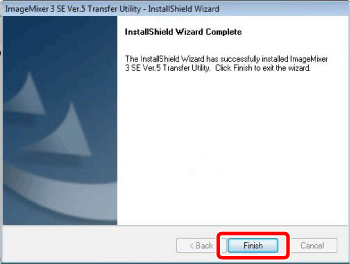
7.Once the installation is completed, click [ Finish ].
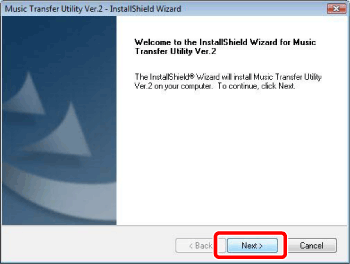
After the installation of ImageMixer 3 SE Transfer Utility has finished, the installation of Music Transfer Utility will start.
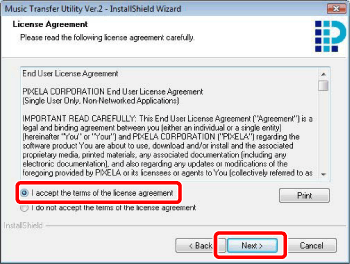
9.Read the license agreement and click [ Next ].
Select [ I accept the terms of the license agreement ] to continue.
10.Check the destination folder for the installation files and click [ Next ].
If you want to change the destination folder, click [ Change ] and select a different folder.
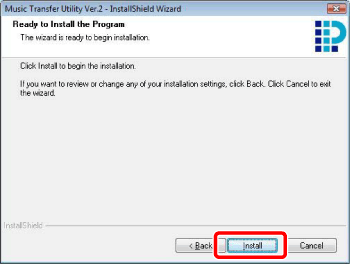
11.Click [ Install ] to begin the installation.
12.Once the installation is completed, click [ Finish ].
13.Remove Disc 1 from the computer.
To install the software on Disc 2, continue to the next section.
Installing the Software on Disc 2
1. Verify that the computer is connected to the Internet.
During the installation, the software will be activated online. If you have an Internet connection, make sure that the computer is connected to the Internet during the installation process.
CAUTION
If Internet connection is not available, call one of the user support centers to get the certification code by phone.
2. Insert the PIXELA Application Disc 2 CD-ROM into the computer's CD or DVD drive.
The installation wizard will start automatically.
REFERENCE
Select [Continue] in the User Account Control window that opens.
3.Select the language for the installation and click [Next].
5.Read the license agreement and click [Next].
Select [I accept the terms of the license agreement] to continue.
6.Check the destination folder for the installation files and click [Next].
If you want to change the destination folder, click [Change] and select a different folder.
7.Select your local video system and click [Next].
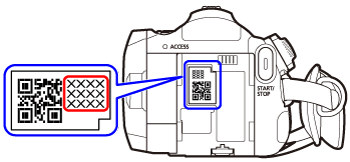
8.Enter the serial number of your camcorder and click [Next].
The serial number label is located in the battery attachment unit. Remove the battery pack to find it.
CAUTION
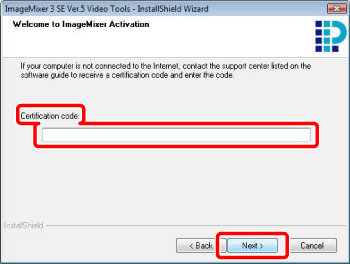
If an Internet connection is not detected, you will be asked to enter the Certification code manually.
Call a user support center and get the Certification code. Enter the Certification code you received and click [Next].
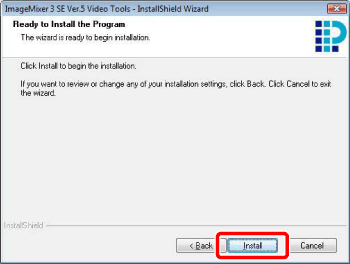
9.Click [Install] to begin the installation.
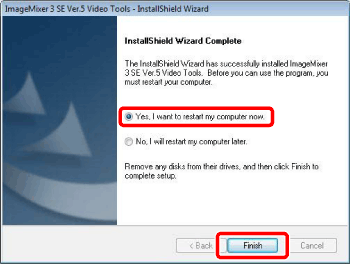
10.Once the installation is completed, select [Yes, I want to restart my computer now.] and click [Finish].
