Solution
Downloading images to a computer using [CameraWindow].
CAUTION
- [ZoomBrowser EX] from the supplied Solution Disk must be installed on your computer for this operation.
- Operations for Windows Vista are explained here. Images displayed or operation might differ slightly in Windows XP.
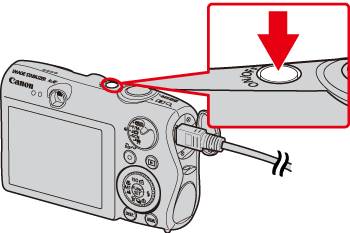
- As the actual locations of buttons / switches on cameras vary depending on the camera model, the illustrations that appear on this page may differ from your camera.
- Some of the images that appear on this page contain a specific camera model name, however the actual model name varies depending on the camera used.
1. Connect the camera's DIGITAL terminal to the computer's USB port using the [interface cable] supplied with your camera.

DIGITAL terminal on the camera

[Interface cable]

USB port on the computer
2. Press the <Power> button on the camera.
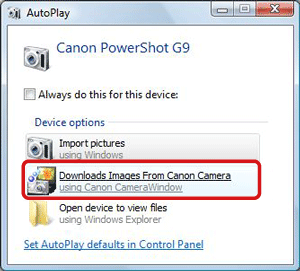
3. The following window appears.
Click [Downloads Images From Canon Camera].
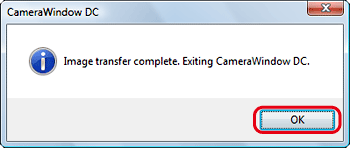
4. The [Camera Window] startup screen will appear. Click [Transfer Untransferred Images].
To import the image selected or to use save as, click [Operate Images on Camera] (images are generally stored in the [My Pictures] folder).
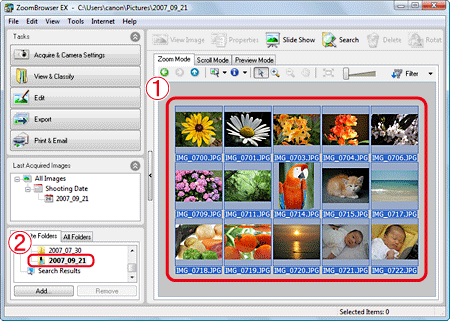
6. When downloading is complete, [ZoomBrowser EX] starts automatically.
The downloaded images will be stored in folders named for each shooting date, and will be displayed in the main window of [ZoomBrowser EX].

Browser area of [ZoomBrowser EX]

Folder in which images are saved