How to Transfer Images to the Computer Using Image Transfer Utility 2 (Wi-Fi) (Windows 8.1)
Solution
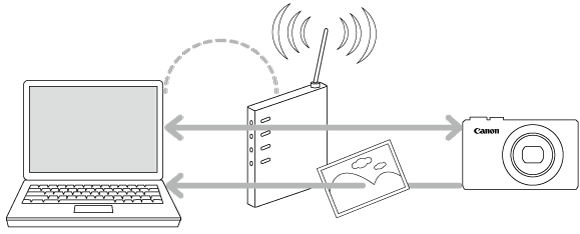
How to send images from the camera to a computer using Image Transfer Utility 2.
IMPORTANT
- In the following explanation, computer setting procedures are indicated by the
 icon, and camera setting procedures are indicated by the
  icon.
icon.
 1. Download the software [ Image Transfer Utility 2 ] from the Canon homepage on to your computer, and proceed to installation.
 2. Once the installation is complete, the settings window for [ Image Transfer Utility 2 ] will be displayed, click [ Next ] .
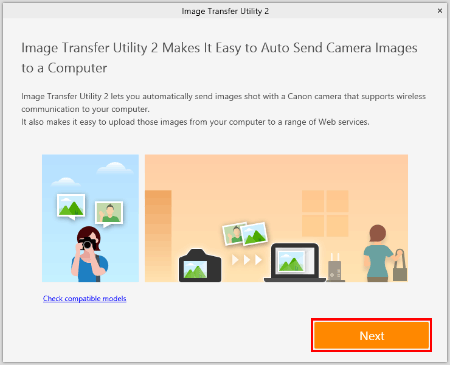
 3. [ Preparation ] will be displayed, read the details carefully and click [ Next ] .
 4. [ Pairing Setup ] will be displayed. Keep the screen as it is displayed, and move on to the next step.
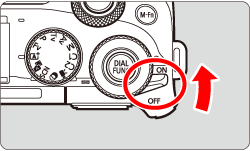
 1. Turn the camera on.
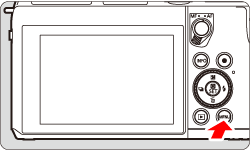
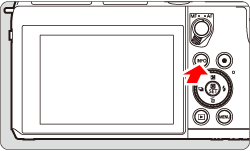
 2. Press the <
  > button.
 3. Press the <
  > button to choose the [
  ] tab.
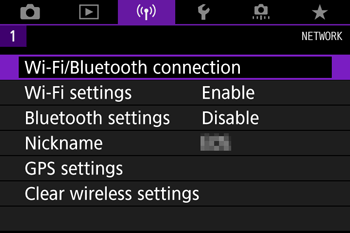
 4. Turn the <
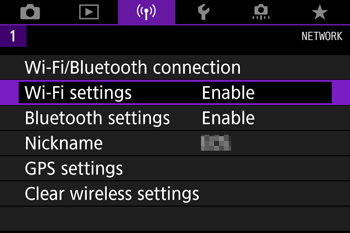
  > dial to choose [ Wi-Fi settings ], press <
  >.
>.
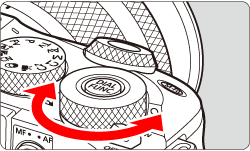
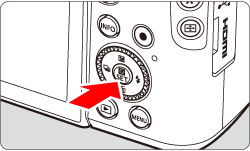
 5. Turn the <
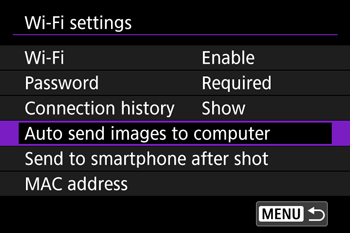
  > dial to choose [ Auto send images to computer ], press <
  >.
>.
NOTE
If [ Wi-Fi ] settings has [ Disable ] selected, change settings to [ Enable ] .
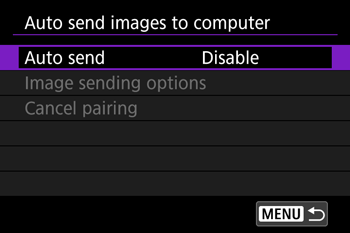
 6. Turn the <
  > dial to choose [ Auto send ], press <
  >.
>.
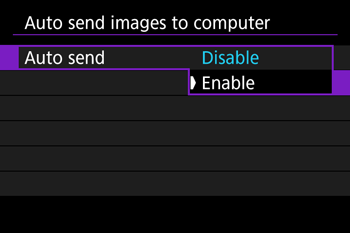
 7. Turn the <
  > dial to choose [ Enable ], press <
  >.
>.
 8. Turn the <
  > dial to choose [ OK ], press <
  >.
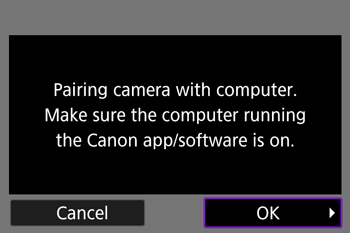
>.
 9. Right-click the Start button (
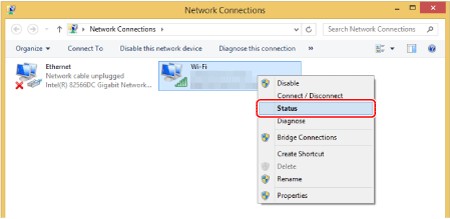
  ) on the bottom left of the screen, and then select [Network Connections].
 10. Right-click [Wi-Fi] and select [Status].
 11. Turn the <
  > dial to select the SSID that matches with the one shown in [SSID:], and then press <
  >. (See the SSID example below).
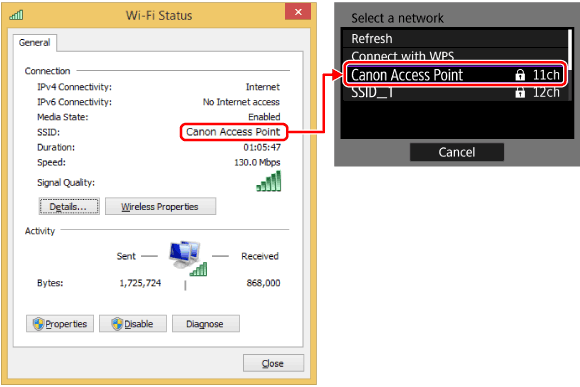
 12. Click [Wireless Properties].
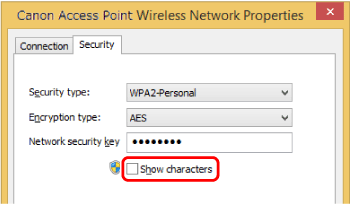
 13. Click the [Security] tab.
 14. Tick the [Show characters] checkbox.
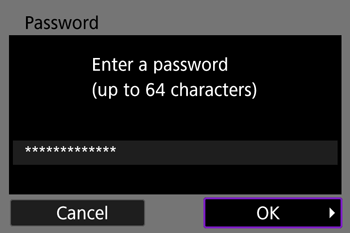
 15. On the [ Password ] screen, press <
  >.
>.
 16. Enter the password displayed in the [Network security key]. (See the password example below).
- For information on how to use the on-screen keyboard, see [Virtual Keyboard Operations].
- Press the <
 > button after the letters have been confirmed, before returning to the previous screen.
 17. After the password has been entered, turn the <
  > dial to choose [ OK ] , press <
  >.
>.
 18. Click [Cancel].
 19. Click [Close].
 20. Close [Network Connections].
 21. Turn the <
  > dial to choose [ OK ] ,press <
  > (This screen may or may not be displayed).
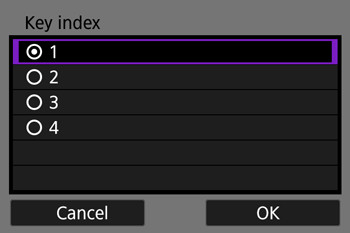
- Turn the <
 > dial to choose [ OK ] , press the <
  > to go to the next step.
 22. Turn the <
  > dial to choose [ Auto setting ], press <
  >.
>.
- Turn the <
 > dial to choose [ OK ] , press the <
  > to go to the next step.
 23. The computer name will appear. Confirm that the name displayed on the [ Pairing Setup ] screen is the same, press <
  >.
>.
 24. If the camera Nickname is displayed under [ Procedure for this screen ] , select camera and click on [ Pairing ].
 25. Once pairing is complete, the [ Setup Complete ] window will appear, click [ OK ] .
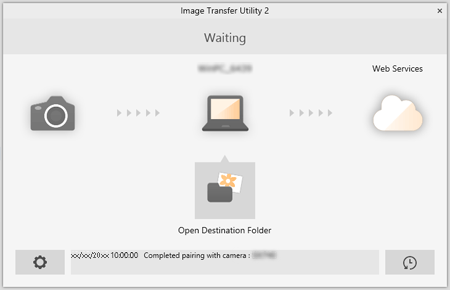
 26. The [ Waiting ] window will appear for Image Transfer Utility 2. To continue transfering images from the camera, stay on this screen and wait.
NOTE
To save images in a different folder, click on the computer icon to open [ Set Destination Folder ] window.

 1. Choose
  menu > [Wireless communication settings] > [Wi-Fi settings] > [Auto send images to computer].
 2. Choose [ Image sending options ] .
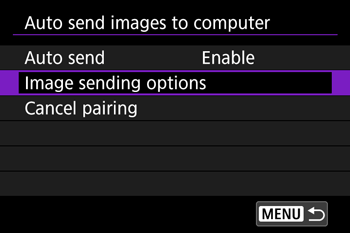
 3. In [Image sending options], specify the transfer conditions.
 4. Turn the camera off.
 1. Confirm that the Image Transfer Utility 2 window shows [ Waiting ] .
 2. The images will automatically transfer to the computer once the camera has been turned on within range of the access point.
 3. To confirm the transferred images, click [ Open Destination Folder ] .
- The images will now be automatically transferred to the computer everytime, once the camera is turned on within range of the access point. If auto-transfer does not start, restart the camera.
IMPORTANT
- When using auto image transfer, ensure that the battery pack has sufficient charge. Power saving on the camera is deactivated.
- Any images captured after auto image transfer are not sent to the computer then. They are sent automatically when the camera is restarted.
- If auto image transfer to a computer does not begin automatically, try restarting the camera.
NOTE
- To stop sending images automatically, choose [Auto send images to computer] > [Auto send] > [Disable].
- Once Image Transfer Utility 2 is installed, it will continue to work unless the software has been closed.
- Click on
 of the Image Transfer Utility 2 screen, choose [ Quit ] , this will disable auto-transfer even when the camera is turned on. To Enable wireless transfer again, turn on Image Transfer Utility 2.
Use the on-screen keyboard to enter information. Note that the length and type of information you can enter varies depending on the function you are using.
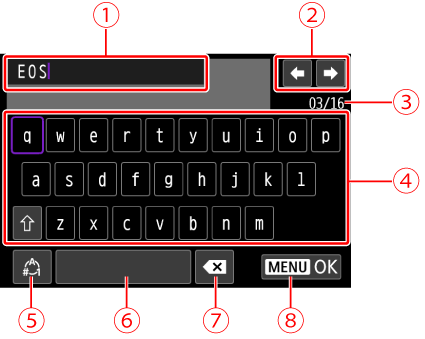
 | Input area, for entering text |
 | Cursor keys, for moving in the input area |
 | Current no. of characters/no. available |
 | Keyboard |
 | Switch input modes |
 | Space |
 | Delete a character in the input area |
 | Finish the text entry |

