
How to perform automatic 2-sided printing
Solution
This printer is equipped with a function that can perform 2-sided printing. Plain paper and heavy paper (91 - 120 g/m2) of A4, Legal, and Letter sizes can be used for automatic 2-sided printing.
IMPORTANT
Operational requirements and restrictions are indicated at the end of this page. Be sure to read these items carefully in order to operate the printer correctly, and to avoid damage to the printer.
1. Load paper in the manual feed slot or paper cassette.
2. Open the duplex unit cover.
Holding the opening of the duplex unit cover, open it gently.
3. Set the blue paper size switch lever (A) to the appropriate position according to the paper size for 2-sided printing.
For A4 size, draw the paper size switch lever toward you.
For Letter or Legal size, push the paper size switch lever into the printer.
4. Close the duplex unit cover.
Holding the opening of the duplex unit cover, close it gently.
5. Select [Print] from the [File] menu in the application. Select the name of this printer for [Name] or [Printer Name], and then click [Properties].

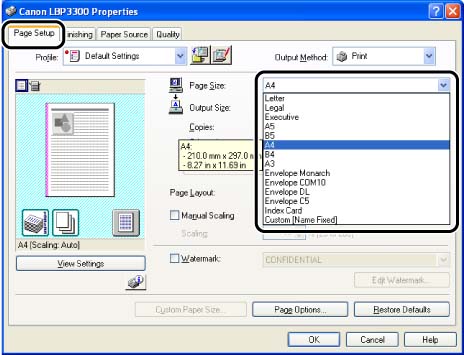
6. Display the [Page Setup] sheet, then from [Page Size], select the size of a document that you have created with the application.
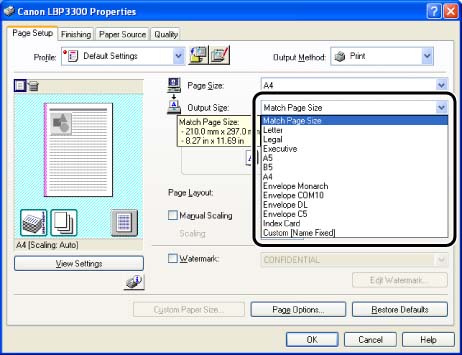
7. From [Output Size], select the size of the loaded paper as needed.
Leave the setting at [Match Page Size] when the page size and the size of the paper loaded in the paper source are the same, since there is no need to change the setting.
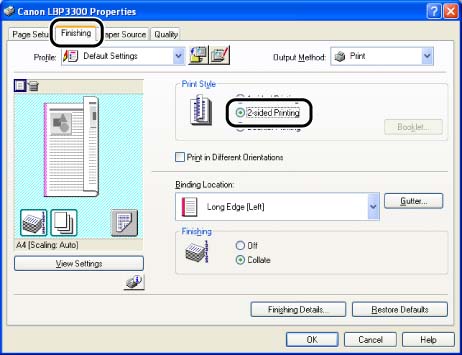
8. Display the [Finishing] sheet and select [2-sided Printing] for [Print Style].
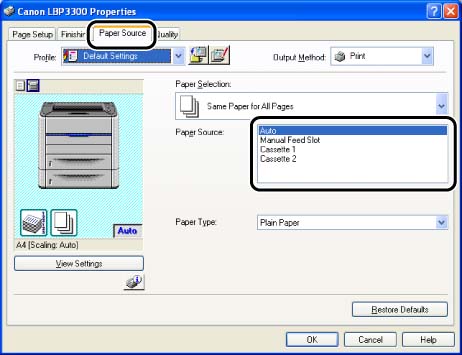
9. Display the [Paper Source] sheet, then select [Paper Source].
Specify the same setting as the one for [Paper Source], although the setting for [Paper Source] changes to ones such as [First Page] or [Other Pages] when [Paper Selection] is set to other than [Same Paper for All Pages].
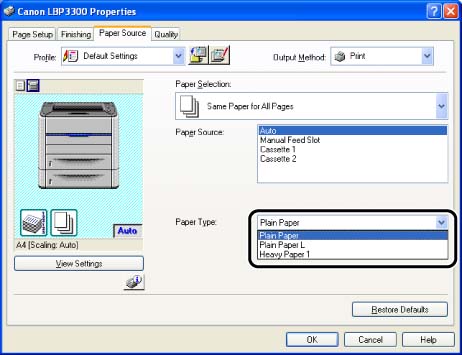
10. Select the paper type specified in [Paper Type].
NOTE
Load paper based on the following [Paper Type] criteria:
| Paper Type | Printer Driver Setting | |
| Plain paper | 60 - 74 g/m2 | [Plain Paper L] |
| 75 - 90 g/m2 | [Plain Paper] | |
| Heavy paper (91 - 120 g/m2) | [Heavy Paper 1] | |
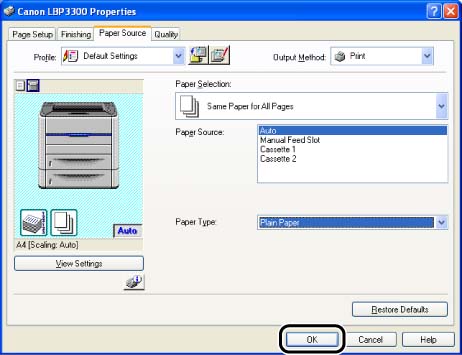
11. Click [OK] to close the Properties dialog box.
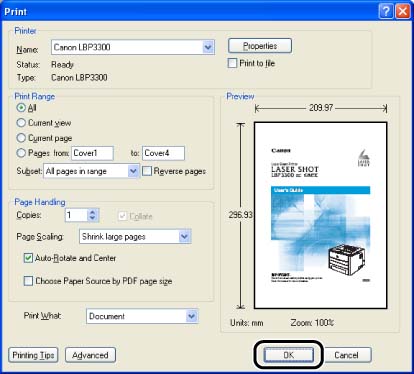
12. Click [OK] to start printing.
IMPORTANT
a. You cannot perform automatic 2-sided printing on heavy paper (121 - 163 g/m2), transparencies, labels, Index Card, and envelopes.
b. During automatic 2-sided printing, do not touch the paper until it is output to the facedown output tray completely. During automatic 2-sided printing, the paper is first output partially after the front side is printed, and then it is fed again to be printed on the reverse side.
c. Be sure to close the output selection cover before performing automatic 2-sided printing.
d. When performing 2-sided printing, be sure to confirm the paper size switch lever is set to the appropriate position. When the paper size switch lever is not set to the appropriate position, this may result in paper jams.
e. The print will be automatically reduced or enlarged to fit on the page when the settings for [Page Size] and [Output Size] are different.
NOTE
a. When the last page for the 2-sided printing is 1-sided printing, the printer prints faster than normal 2-sided printing by clicking [Finishing Details] in the [Finishing] sheet and [Advanced Settings] in the [Finishing Details] dialog box, and then selecting the [Print Last Page in 1-sided Mode when 2-sided Printing is Set] check box in the [Advanced Settings] dialog box. However, when printing punched paper or previously printed paper, the orientation or printing surface of the last page may differ from other pages. In this case, clear the check box.
b. On automatic 2-sided printing, the reverse side of the paper is printed first, therefore the paper should be loaded in the opposite orientation to that for 1-sided printing. When printing paper such as a letterhead in which faces and directional orientations specified, load paper as follows.
- When paper is fed from the paper cassette: Load the paper so that the printing side is facing up, as shown in the following figure.
(  : Feeding direction)
: Feeding direction) 
- When paper is fed from the manual feed slot: Load the paper so that the printing side is facing down, as shown in the following figure.
( : Feeding direction)
: Feeding direction) 
c. Load paper in Cassette 2 (Only when the optional paper feeder is installed) in the same manner as you load paper in Cassette 1.